To buck a solid rivet, you hold a bucking bar flat against the rivet tail while someone drives the manufactured head with a rivet gun. The mass of the bar reacts the blows, the shank swells inside the hole, and the tail spreads into a shop head. A good one measures at least 1.5 times the rivet diameter across and at least half that diameter tall, per FAA AC 43.13-1B. Keep the bar square to the shank, let the weight do the work, and stop the moment the head reaches size.
That is the whole job in four sentences. Doing it well two hundred times in a row, upside down, inside a wing, is the part that takes practice. What follows is the sequence experienced buckers actually run, the measurable check that tells you the rivet is good, and the failures worth recognizing on sight, including the one that gets misdiagnosed most often.
What you need on the bench
Riveting is a two person job in most airframe work. One person runs the gun on the manufactured head, the other holds the bar on the tail, and they talk to each other. Before the first rivet:
- A rivet gun sized to the rivet, with a set that matches the head. A universal head takes a cupped set, a flush head takes a flat set.
- A bucking bar with enough mass for the rivet and a face that can reach the tail squarely.
- Rivets of the right alloy, diameter, and length.
- Clecos and a cleco pliers to hold the assembly tight while you work.
- A rivet gauge, or a caliper and a scale, to check the first few shop heads.
- Eye protection and hearing protection. A rivet gun is loud and rivet tails occasionally leave.
Get the rivet length right before you start. The tail should stand proud of the material by about 1.5 times the rivet diameter, so total length is roughly grip length plus 1.5 diameters. Too short and you cannot form a full head. Too long and it folds over instead of upsetting.
How to buck a solid rivet, step by step
1. Clamp the assembly and check the hole. Cleco every second or third hole so the parts sit metal to metal. The hole should be clean and the right size for the rivet, with no burrs on either side.
2. Seat the rivet. Drop it in and confirm the manufactured head sits flat against the skin. On a flush rivet, the head should sit level with the surface or a hair below, never proud.
3. Set your air pressure and test on scrap. Gun pressure is shop practice, not a published number, and it depends on the gun, the hose, and the rivet. Start low, drive test rivets in scrap of the same thickness, and adjust until you get a short controlled burst instead of one violent hit or twenty weak ones. Write down what works for that combination.
4. Get the bar in place before the gun. The bucker positions first. Press the working face flat against the rivet tail, square to the shank and centered on it. A bar sitting at an angle pushes the head sideways every time, no matter how good the gun operator is.
5. Hold the bar with weight, not muscle. This is where most beginners fight the tool. You are not trying to shove the rivet back through the hole. You want firm contact and enough inertia that the bar does not bounce when the gun hits. Squeezing harder does not form a better head, and it wears you out by lunch.
6. Call the shot, then drive in short bursts. The bucker says ready, the gun operator drives a short burst, and both of you stop and look. Short bursts beat one long rattle, especially while you are learning what the rivet feels like through the bar. You can feel it form. The bar goes from lively to solid as the shank fills the hole.
7. Check the shop head against the numbers. AC 43.13-1B sets a minimum of 1.5 times the rivet diameter for width and 0.5 times the diameter for height, with a typical formed height closer to 0.65D. On a 1/8 inch rivet that is roughly 3/16 inch wide. A rivet gauge checks both dimensions at once, which is why most shops keep one in a pocket rather than reaching for a caliper. The head should also sit centered on the shank, not leaning, with the skins tight and no gap at the seam.
8. Stop driving. Overdriving is the most common way to ruin a rivet that was going fine. Once the head is at size, more hits only work harden the material, flatten the head past spec, and stress the hole.
Five bad shop heads and what caused each
Most defects trace back to one of two things: the bar was not square, or the rivet was driven too long. Learning to read the failure saves you from repeating it down the whole rivet line.
| What you see | Usual cause | Fix on the next rivet |
|---|---|---|
| Head leaning to one side, sometimes called clinched or tipped | Bar held at an angle to the shank, or bar drifted mid drive | Reseat the bar flat and square before calling ready |
| Crescent dent in the skin beside the manufactured head, commonly called a smiley | Edge of the gun set striking the skin because the set slipped off center | Gun operator centers the set and holds it square |
| Head too flat and too wide, pancaked | Overdriven past size | Fewer hits, check dimensions sooner |
| Cracked or split head | Overdriving, or the wrong alloy for a cold drive | Confirm rivet alloy, stop at size |
| Loose joint or swelled shank with a gap at the seam | Parts not clamped tight, or rivet too long | Add clecos, verify grip length |
A rivet with a leaning head, a cracked head, or a loose joint does not get a second try with the gun. Restriking a formed head work hardens it and can crack it or damage the hole, so the repair is to drill it out and replace it, a skill worth practicing on scrap first. A smiley is different. If the shop head itself still measures in tolerance, a shallow cosmetic mark beside it is not, by itself, a reason to drill the rivet back out, and doing so over a mark that is only cosmetic usually leaves you worse off than leaving it alone.
Alloy matters before you drive anything
Most solid rivets in light aircraft work are 2117-T4, marked with a dimple in the head and usually called AD. They drive as received at any size, which is why they are the default. 2017-T4, marked with a raised dot, drives as received too up to 3/16 inch, but above that diameter it needs to be annealed or kept refrigerated before driving, the same as 2024-T4, marked with a raised double dash, at every size. That refrigerated condition is where the old term ice box rivet comes from. Driving a rivet that should have been iced but was not is a reliable way to produce the cracked head in the table above.
Head style is a separate question from alloy. AN470, now more commonly called MS20470, is the universal head that sits on top of the skin. AN426, or MS20426, is the 100 degree countersunk head used where the surface has to stay flush. The alloy determines whether you can drive it as received. The head determines which gun set you reach for.
When the bar is the problem
Plenty of bad shop heads get blamed on technique when the real issue is that the bucker was holding the wrong bar. Three things about the bar itself change the result.
Mass has to match the rivet. Too little and the bar bounces, so the blows go into moving the bar instead of upsetting the shank. Too much and you cannot hold it flat in an awkward position long enough to matter. Our rivet size to bar weight lookup and the weight guide both start from rivet diameter for that reason.
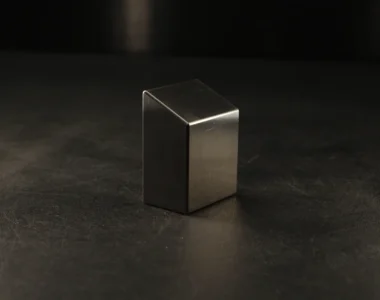
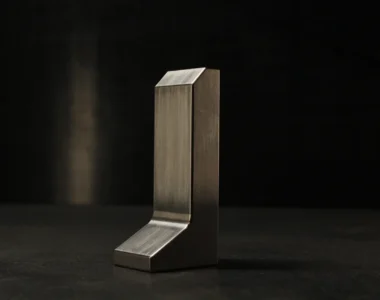
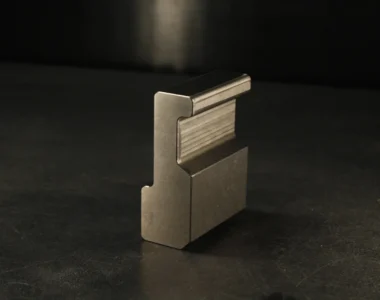
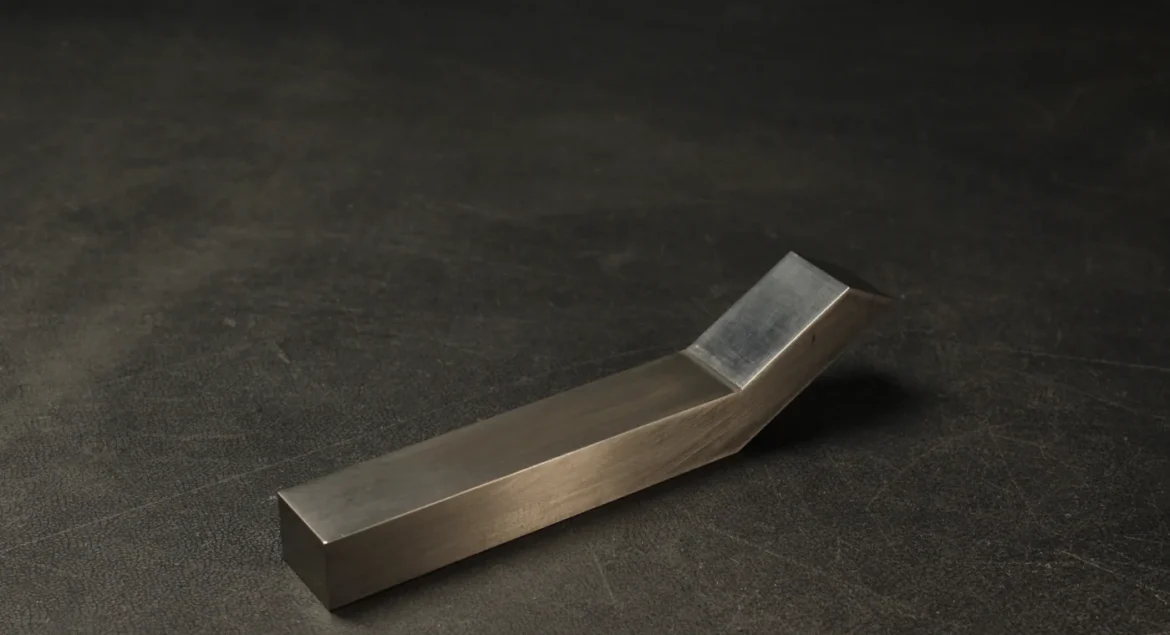
The face has to reach the tail squarely. That is a shape problem, not a weight problem. Flat open skin takes a straight bar, a flange or a corner needs an angled or offset face, and a rib or channel needs a hook. If the only way you can touch the rivet is at an angle, you will produce tipped heads until you change bars. The shapes guide covers what each profile reaches, and the Bucking Bar Selector works backward from your access.
Density decides how much of that mass you can fit where the rivet actually is. A steel bar heavy enough for a 1/8 inch rivet is physically bigger than a tungsten bar of the same weight, and inside a wing bay that size difference is the difference between reaching the rivet flat and reaching it at an angle. That is the tungsten heavy alloy that makes a dense, compact bar possible, and it is the only reason the material matters. It buys you access and control, not extra bucking force.
Common questions
How do you buck a solid rivet?
Hold a bucking bar flat and square against the rivet tail while a second person drives the manufactured head with a rivet gun. The bar’s mass reacts the blows so the shank upsets into a shop head at least 1.5 rivet diameters wide and at least half a diameter tall. Work in short bursts and stop as soon as the head reaches size.
How hard should you press the bucking bar?
Firm enough that the bar stays in contact and does not bounce, and no harder. The work is done by the bar’s inertia, not by your arm. Pressing harder does not form a better head, and it makes it much harder to hold the face square for the whole burst.
What size should a shop head be?
At least 1.5 times the rivet shank diameter in width and at least 0.5 times the diameter in height, per FAA AC 43.13-1B. A rivet gauge checks both at once. Measure the first several rivets of any new size until your eye is reliable.
Why do my rivets come out crooked?
Almost always because the bar is not square to the shank when the gun fires, or it shifts partway through. Reseat the bar flat on the tail before you call ready. If you cannot physically get the face flat on the rivet, the bar shape is wrong for that location.
Can you fix a bad rivet by hitting it again?
For a leaning head, a cracked head, or a loose joint, no. Restriking a formed head work hardens the material and risks cracking it or damaging the hole, so the fix is to drill it out and replace it. A cosmetic smiley next to a head that still measures in tolerance is a different case, and drilling it out over the mark alone usually does more harm than leaving it.
What air pressure should the rivet gun be set to?
There is no single published number, because it depends on the gun, the hose length, the set, and the rivet. Set it so a short controlled burst forms the head, test on scrap of the same thickness, and record the setting for that combination.